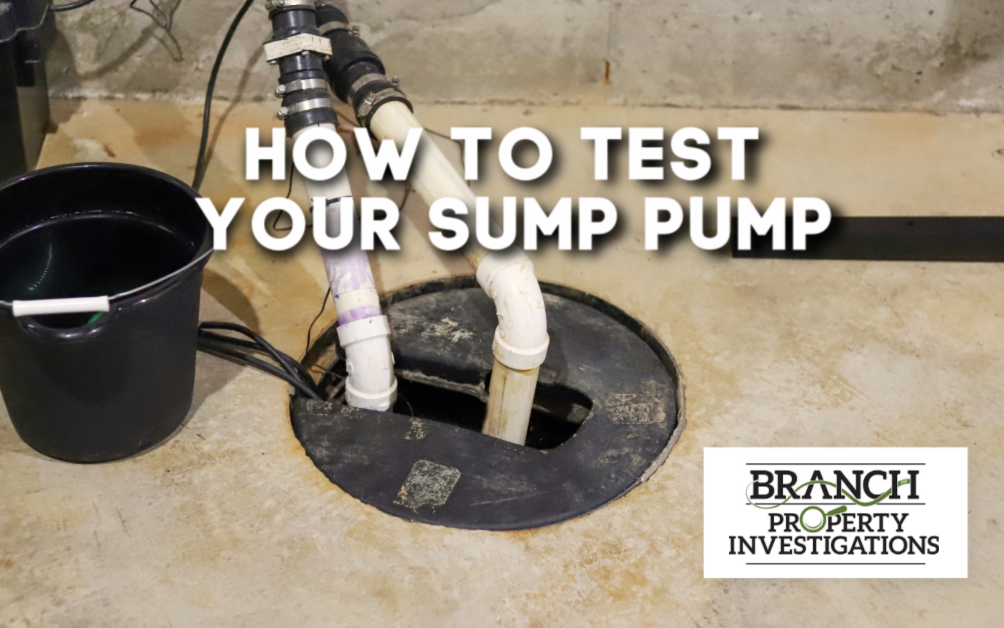
Just for a moment, imagine a rising tide is attempting to come through your basement wall. This is often what happens in heavy rains or rapid, Minnesota snow melts. A sump pump and drain tile system (along with gutters, grading, and basement waterproofing) eliminate unwanted moisture from seeping through your basement walls and into your home. As a homeowner, you want to make sure all components are in working order so in time of need, you don’t have any wet surprises.
To ensure we’re on the same page, here is some terminology I’ll be using in today’s post:
Sump Basket – a hole in the basement slab that collects water from the drain tile (if present).
Drain Tile – perforated plastic pipe that drains from the perimeter of the basement below the floor (at the footing level) and into the sump basket.
Sump Pump – a pump that sits in a sump basket and is triggered to pump when the water rises high enough to trigger the activating mechanism (a float, slide, or other device).
If your home has a basement sump pump, I recommend you test it regularly to ensure its proper operation. Here are some easy steps to follow:
Step 1 – Locate the Exit Pipe
Locate the exit pipe, also called an outlet pipe, on the exterior of your home. (This is where your sump pump directs the water from your basement.) Inspect the outlet pipe for any damage and verify there are no clogs from debris. Make sure that the outlet pipe will direct water away from the foundation of your house. The pipe should drain no closer than 15 feet from your home’s foundation in order to avoid moisture intrusion issues. If possible, place the hose exit at a location that continues to drain away from the house.

Step 2 – Look over your Sump Pump
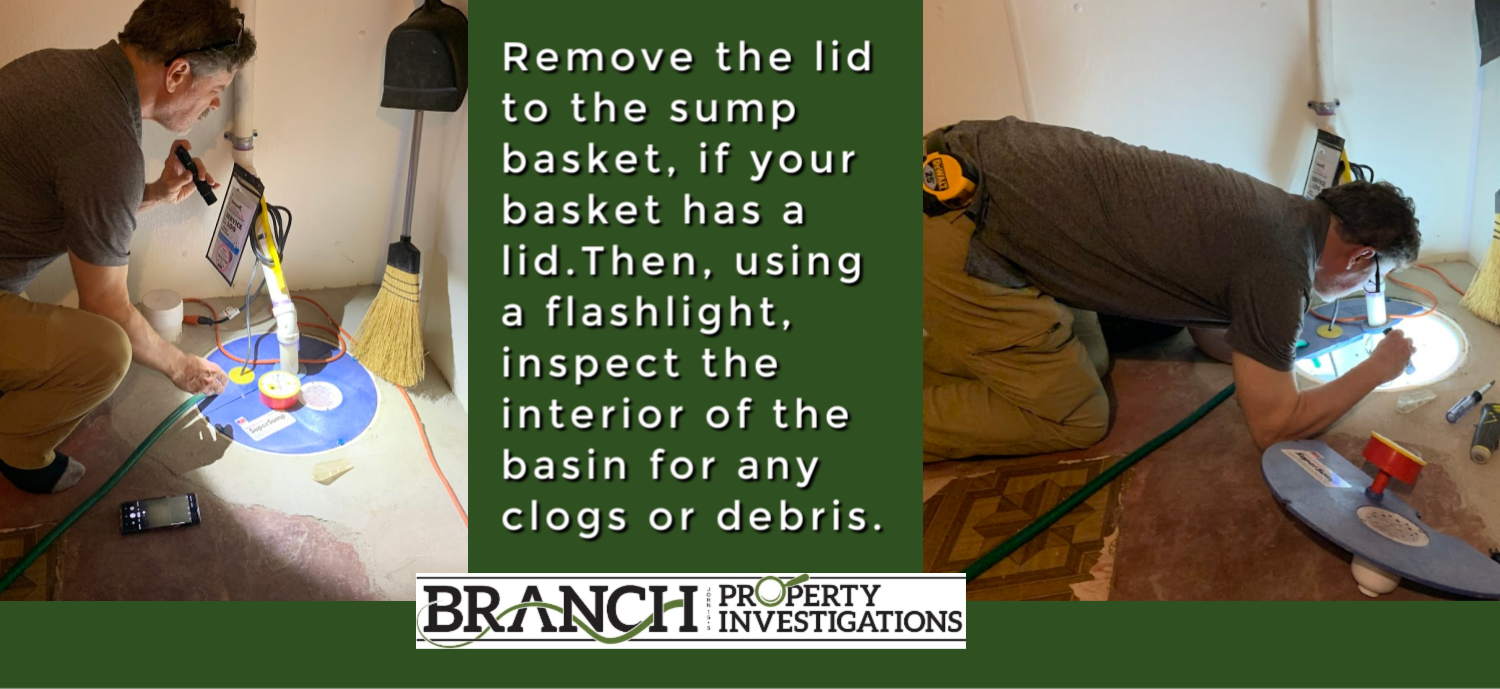
Next, find the sump pump. It’s located in the sump basket that should be (but isn’t always) covered. You can usually find it near the interior walls of the foundation, typically in an unfinished area of the basement like the utility room. Verify that the electrical cord for your sump pump is plugged directly into an outlet (connecting by an extension cord is not correct).
Remove the lid to the sump basket, if your sump basket has a lid. Using a flashlight, inspect the interior of the basin for any clogs or debris. Clean out any debris in the bottom of the sump basket, as that might potentially get sucked into a sump pump and cause a blockage or wear on the pump.
I always recommend homeowners invest in a battery back-up. This supplements the power supply to your main pump if there is a power failure. (It kicks in as soon as the main pump goes off to help pump water from your sump basket in case of flooding.)
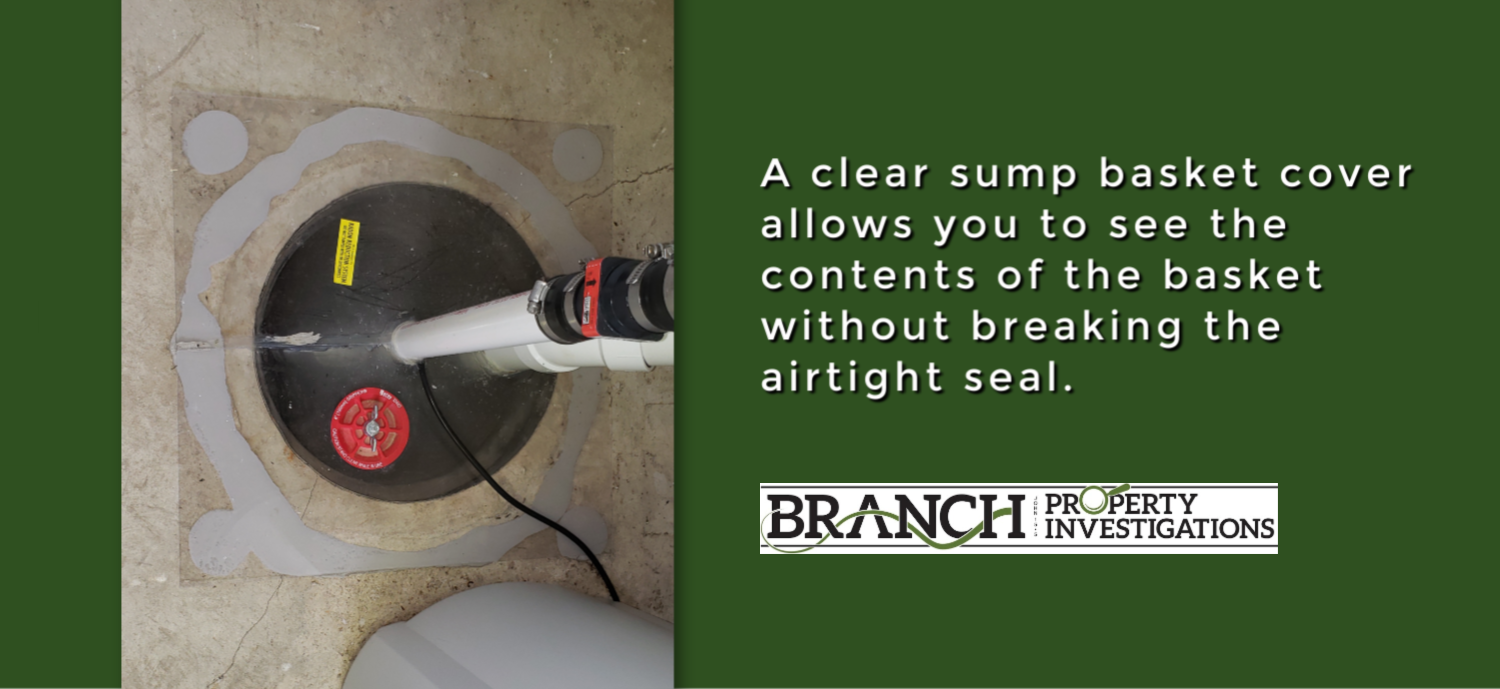
A clear, airtight sump basket cover keeps out clogging debris, odors and radon gas.
Step 3 – Add Water to Your Sump
Pour approximately five gallons of water into the basin of your sump basket. Pour slowly until the sump pump turns on and begins to pump out water. Do not pour in more water than the basin will hold. Expect the sump pump to begin pumping out water when the water level reaches approximately 8 to 12 inches below the surface of the basement floor.
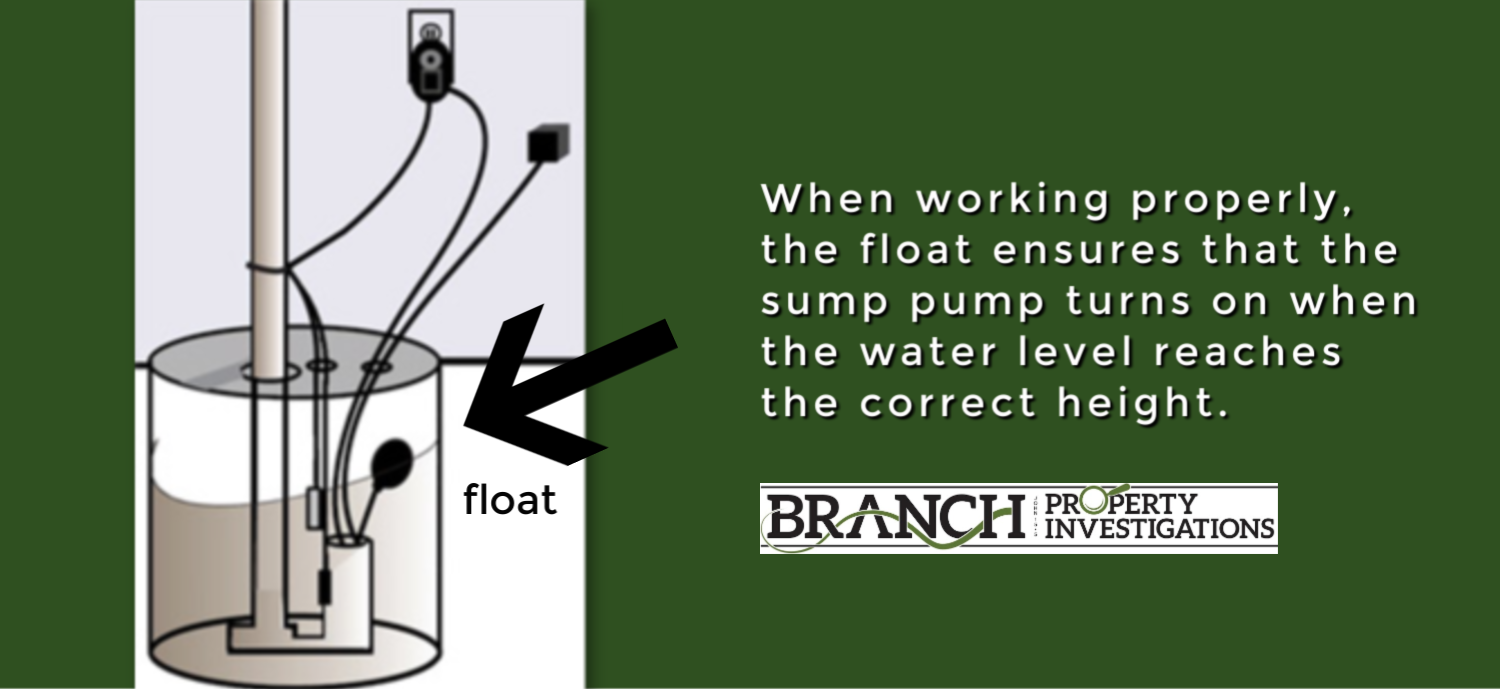
Step 4 – Look for a Sump Pump Float
Next, look for a float on the sump pump. (Your sump pump may not include a float.) Verify that the float functions correctly and does not catch against the lid or basin. When working properly, the float ensures that the sump pump turns on when the water level reaches the correct height.
Step 5 – Repair your Sump Pump
Make any necessary repairs based on your test of your basement sump pump. Continue to test your sump pump regularly (every few months) and replace your pump if needed. Check Google reviews for a great licensed plumber in your area if the repairs are beyond your capabilities.
Step 5 – No Pump? Seal Your Basket
Lastly, if your home has a sump basket but no sump pump has been installed, monitor the sump basket closely. Consider installing a sump pump to ensure you have an emergency overflow system in place should the need arise. If your basket remains dry and you’re confident a sump pump is definitely unnecessary, your basket should be completely covered to reduce the amount of water vapor and soil gases (like radon) that escape into the house. Using a cover that includes a viewing port or is see-through will ensure that you’ll be able to periodically check on the sump basket while still eliminating any soil gases.

Like any appliance, sump pumps have a limited life-expectancy and need replacement after a number of years (the average life expectancy is about 10 years depending on frequency of use and history of maintenance). It’s your responsibility as the homeowner to check and perform routine maintenance.
If you need help investigating moisture intrusion issues or a home inspection in the Twin Cities area, please give us a call at (612) 440-8466!